Don't Let Your Washer Become a Costly Repair: How to Store Your Washing Machine the Right Way During a Move or Remodel
Moving into a new home or remodeling your current one often means finding temporary space for large appliances. While furniture and boxes usually receive most of the attention during the packing process, many homeowners underestimate how much preparation a washing machine requires before it goes into storage. Because it combines plumbing, electrical components, electronics, and several moving mechanical parts, improper storage can easily lead to mold, rust, unpleasant odors, or expensive repairs by the time you're ready to use it again. Fortunately, storing a washing machine correctly isn't difficult when you understand the proper steps. A little extra preparation now can help preserve the appliance's performance while giving you one less thing to worry about during an already busy project. Whether your laundry room is being renovated or you're waiting to move into your next home, placing your washer in a secure storage unit keeps it protected while freeing valuable space inside the house.
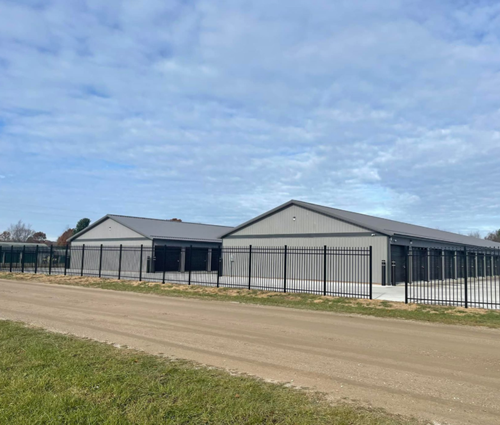
For homeowners looking for storage options in Shelby Township, MI, or Ludington, MI, renting a storage unit provides an excellent solution for safely storing appliances, furniture, and household belongings until your project is complete. Instead of constantly shifting heavy items from one room to another, everything stays organized and protected in one convenient location.
Key Points for Readers Short on Time
- Clean and completely dry your washing machine before placing it into storage.
- Drain every hose and internal compartment to prevent mold, mildew, and lingering odors.
- Transport the washer upright and secure the drum whenever possible.
- Leave the washer door slightly open during storage to improve airflow.
- Organize your storage unit so the appliance stays protected but remains accessible when you need it.
Why Washing Machines Require Extra Care Before Storage
Unlike many household belongings, washing machines are designed to work with both water and electricity. Every wash cycle leaves behind small amounts of moisture hidden inside hoses, pumps, seals, and internal plumbing. While these areas naturally dry between regular uses at home, that moisture can become a serious problem once the machine sits untouched inside storage for several weeks or months. As a result, many of the issues homeowners experience after taking a washer out of storage actually begin long before the appliance ever reaches the storage unit. Residual detergent, mineral deposits, trapped water, and even small amounts of lint create the perfect environment for mildew and bacteria if they aren't removed beforehand. In some cases, these problems can produce unpleasant odors that remain even after several cleaning cycles.
Beyond moisture concerns, washing machines also contain suspension systems that keep the drum balanced during operation. Those components are built to handle movement while washing clothes, but they can become damaged if the appliance shifts excessively during transportation. This is why proper preparation before moving is just as important as choosing the right storage unit. Although it may seem like extra work while you're juggling dozens of other moving or remodeling tasks, spending another hour preparing your washer can save hundreds of dollars in repairs or replacement costs later.
Begin with a Deep Cleaning
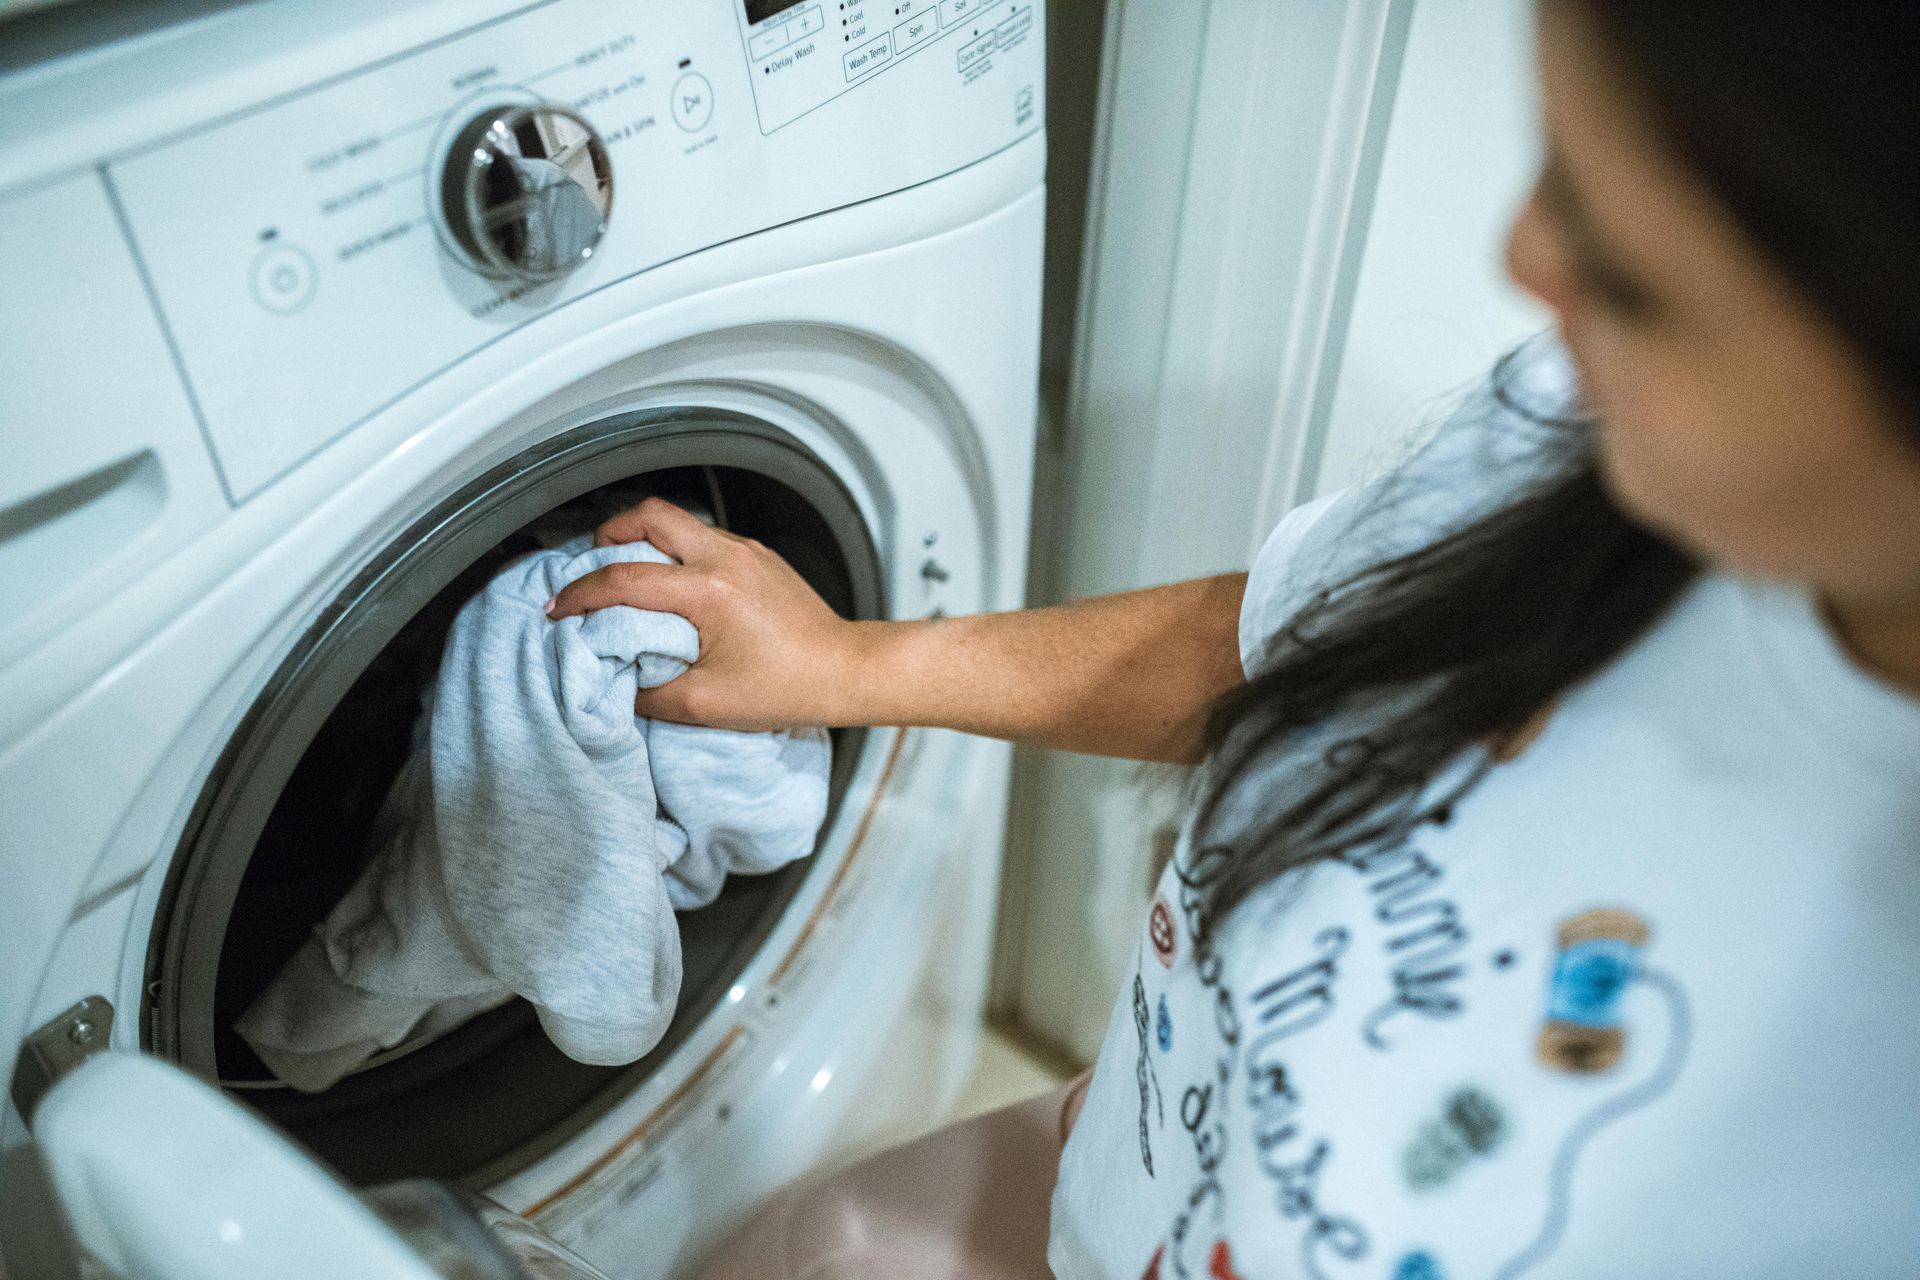
Before disconnecting anything, give the washing machine one final cleaning cycle. This step removes detergent residue, fabric softener buildup, minerals from hard water, and other debris that naturally accumulates inside the machine over time. Start by running an empty cycle using hot water and either a commercial washing machine cleaner or several cups of distilled white vinegar. This helps loosen buildup inside the drum and internal plumbing where moisture often lingers. Once the cycle finishes, wipe every accessible surface with a clean microfiber cloth.
Don't forget areas that many people overlook, including:
- The detergent dispenser
- The fabric softener compartment
- The rubber door gasket on front-loading washers
- The inside of the drum
- The exterior control panel
- The top and sides of the appliance
Cleaning these areas thoroughly helps eliminate soap residue that can trap moisture during storage. It also means your washing machine will be much cleaner and ready to use once your renovation or move is complete. The Environmental Protection Agency also notes that moisture control plays an important role in preventing mold growth. Eliminating excess moisture before placing household items into storage significantly reduces the chance of mold developing over time.
Remove Every Bit of Standing Water
Cleaning the washer is only the first step. Afterward, it's equally important to remove every possible source of trapped water. Even after an empty cleaning cycle finishes, your washing machine still contains moisture in several hidden locations. Supply hoses often retain water, while the drain hose and pump housing may continue holding small amounts that aren't immediately visible. Begin by shutting off both water supply valves before disconnecting the hoses. Keep a bucket and towels nearby because some water will almost always spill during this process. After removing the hoses, carefully drain each one completely.
Next, inspect the drain hose. Hold it upright first, then slowly lower it into the bucket to empty any remaining water. Many front-loading machines also include a small drain filter near the bottom of the appliance. Consult your owner's manual to locate and clean this filter before storage. Finally, leave the washer door open for at least twenty-four hours if your schedule allows. During this time, moisture trapped inside the drum, gasket, and internal components will continue evaporating naturally. Although waiting another day before moving the appliance may seem inconvenient, this drying period is one of the easiest ways to prevent mildew from developing while the washer sits in storage.
Secure the Drum Before Moving
Once your washing machine is completely clean and dry, the next priority becomes protecting its internal components during transportation. Inside every washer is a suspension system designed to absorb movement while spinning heavy loads of laundry. During normal operation, this system works exceptionally well. However, when the appliance is transported over roads, driveways, or loading ramps, excessive movement can place unnecessary stress on springs, shocks, and support brackets. This is why manufacturers install shipping bolts whenever a washing machine leaves the factory. These bolts lock the drum into position so it cannot bounce around while being transported.
If you still have the original shipping hardware, reinstall it before moving the appliance. Many homeowners store these bolts in a toolbox or utility drawer after installation without realizing they'll eventually become useful again. If the bolts have been lost, don't panic. Many manufacturers sell replacement shipping kits designed specifically for individual models. Taking the time to obtain them is often much less expensive than replacing damaged suspension components later. While preparing the appliance, also secure any loose items. Wrap the power cord neatly and tape it against the back of the machine. Coil the supply hoses and drain hose separately before securing them alongside the cord. This not only keeps everything organized but also prevents the hoses from catching on doorways or other furniture while moving the appliance into the storage unit.
Always Keep Your Washer Upright
Once everything has been disconnected and secured, it's time to move the washing machine. This is where many people unintentionally make one of the biggest mistakes. Because washing machines are bulky and extremely heavy, laying them on their side often seems like the easiest way to fit them inside a moving truck. Unfortunately, transporting the appliance horizontally can create several mechanical problems. Oil from internal components may shift into places where it shouldn't be. The suspension system can experience uneven pressure, while the drum itself may move beyond its intended range of motion. Even if no damage is immediately visible, these internal shifts sometimes cause problems that don't appear until the washer is reconnected months later.
Instead, always transport the appliance standing upright whenever possible. Using a quality appliance dolly makes this process considerably safer. Once inside the moving truck, secure the washer tightly using moving straps so it cannot tip or slide while traveling. Although this requires a little more effort during loading, maintaining the washer's upright position dramatically reduces unnecessary stress on its internal components and increases the likelihood that it will work perfectly once your move or renovation is complete.
Choosing the Best Storage Environment
After arriving at your storage unit, resist the urge to simply push the washer into the nearest available corner. Instead, spend a few minutes thinking about the overall layout of the unit. Proper placement not only protects the appliance but also makes retrieving other belongings much easier throughout your project. Many homeowners discover halfway through a renovation that they need access to seasonal decorations, tools, important paperwork, or extra furniture. If the washing machine has been placed directly in front of everything else, reaching those items becomes unnecessarily difficult.
For that reason, it's worth creating a simple organizational plan before unloading the unit. Continue by storing frequently needed belongings closer to the entrance while placing long-term items farther toward the back. This strategy keeps traffic flowing smoothly inside the unit while reducing the need to repeatedly move heavy appliances. If you're organizing several household items alongside your washer, these guides on storage tips for packing your storage unit right the first time and how to pack your storage unit like a pro provide excellent advice for maximizing available space without sacrificing accessibility.
Protect the Exterior Without Trapping Moisture
After you've positioned your washing machine inside the storage unit, the next step is protecting the exterior. At first glance, wrapping the appliance tightly in plastic might seem like the best solution because it keeps dust away. However, sealing a washer in airtight plastic for an extended period can actually create the very problem you're trying to avoid. Even after thorough cleaning and drying, tiny amounts of moisture may still evaporate from the interior components over time. If that moisture becomes trapped beneath plastic wrap, condensation can develop, encouraging mold growth or even causing rust on exposed metal components. Instead, use a breathable furniture blanket or an appliance cover designed to protect against dust while still allowing air to circulate. This provides a layer of protection against scratches and dirt without trapping humidity around the machine. If you use plastic wrap while transporting the washer to keep doors or cords secure, remove or loosen it once the appliance is inside the storage unit. That small adjustment can make a significant difference if the washer will remain in storage for several weeks or months.
Leave the Door Slightly Open to Improve Airflow
One of the simplest storage tips is also one of the most effective. After placing the washer in the unit, leave the door or lid slightly open instead of closing it completely. Although it may seem like an insignificant detail, this allows air to circulate through the drum and helps any remaining moisture evaporate naturally.
Front-loading washing machines especially benefit from this practice because the rubber gasket around the door tends to hold moisture longer than many homeowners realize. Without airflow, that moisture can eventually create musty odors or mildew that are difficult to remove later. If you're worried about the door swinging open too far, place a folded towel or soft cloth between the door and the frame to keep it partially open. This provides ventilation while preventing unnecessary stress on the hinges.
Keep Every Accessory Together
It is surprisingly common for homeowners to finish a move only to realize they have misplaced the very parts needed to reconnect their washing machine. Water supply hoses, drain hose brackets, shipping bolts, instruction manuals, and small installation pieces often get packed into separate boxes, making them difficult to locate months later. Searching through dozens of moving boxes simply to find a pair of supply hoses can quickly become frustrating.
Instead, gather every removable accessory before placing the appliance into storage. Store them inside a clearly labeled plastic container or heavy-duty storage bag, then secure the container to the back of the washer using packing tape or place it directly beside the appliance. Staying organized now will save time later, especially if your remodel takes longer than expected or if you're unpacking gradually after a move.
Avoid Stacking Heavy Items on Top of the Washer
As you continue filling your storage unit, it can be tempting to use every available surface for additional boxes. After all, the top of a washing machine looks flat and sturdy. However, appearances can be misleading. Although washing machines are built to withstand years of daily use, the top panel isn't intended to support heavy furniture, stacked moving boxes, or large storage bins for extended periods. Excessive weight may bend the cabinet, damage electronic controls located beneath the top panel, or slightly shift internal components.
Instead, position shelving units, mattresses, sofas, or other large furniture nearby while leaving the washer uncovered. This approach not only protects the appliance but also allows you to inspect it easily if you need to visit your storage unit during your renovation. Keeping a small walkway around larger items is another habit that pays off. Rather than climbing over furniture or moving multiple boxes to reach one appliance, you'll be able to access everything more safely and efficiently.
Organizing Your Storage Unit Makes Every Visit Easier
A washing machine is rarely the only item stored during a remodel or move. Most homeowners are also storing furniture, kitchen appliances, seasonal decorations, tools, or family keepsakes. Without a plan, a storage unit can quickly become crowded, making it difficult to locate important belongings later. Instead of loading everything wherever space is available, think about how often you'll need each item. Frequently used belongings should remain near the front of the unit, while long-term storage items can be placed toward the back. Heavy appliances, including your washer, should be positioned against the walls where they remain stable without blocking access.
Labeling boxes clearly also makes a tremendous difference. Rather than writing vague descriptions such as "Kitchen" or "Miscellaneous," include more detailed labels so you know exactly what's inside. This reduces unnecessary searching and keeps your storage unit organized throughout the duration of your project. Taking a little extra time during move-in often saves hours of frustration later.
How Long Can a Washing Machine Stay in Storage?
One question homeowners frequently ask is how long a washing machine can safely remain in storage. The good news is that a properly prepared washer can stay in storage for several months and, in many cases, much longer without developing problems. The key isn't necessarily the length of storage but rather how well the appliance was prepared before being stored.
A washer that has been cleaned, thoroughly dried, drained, and stored upright inside a clean, dry unit generally experiences very few issues. On the other hand, an appliance placed into storage while still damp may begin developing mildew or unpleasant odors within only a few weeks. If you plan to store the washer for an extended period, consider checking on it occasionally. A quick inspection allows you to confirm that everything remains dry and that no unexpected issues have developed inside the unit.
Preparing Your Washer for Use Again
Eventually, your renovation will be complete, or your move will be finished, and it will be time to reconnect the appliance. Although it may be tempting to plug everything in immediately, taking a few minutes to inspect the washer first can help prevent unexpected problems. Begin by examining the exterior for dust, scratches, or signs of moisture. Next, inspect the hoses for cracks or deterioration that may have occurred during storage. If anything appears worn, replacing inexpensive hoses now can help prevent future leaks.
Reconnect the water supply carefully and verify that each connection is secure before restoring power. Once everything is installed, run one empty hot water cycle before washing clothing. This flushes away any dust that may have accumulated during storage and allows you to check for leaks or unusual noises before returning the appliance to regular use. The U.S. Department of Energy also recommends regular appliance maintenance to improve efficiency and extend the lifespan of household equipment.
Storage Can Simplify Every Stage of a Home Remodel
Many people think of self-storage only during a move, but remodeling projects often create the same need for temporary space. Replacing flooring, installing cabinets, repainting walls, or renovating a laundry room becomes much easier when bulky appliances are moved completely out of the work area. Contractors have more room to work safely, while homeowners avoid constantly moving heavy appliances from one room to another.
Removing your washing machine also protects it from common construction hazards such as drywall dust, paint splatter, falling tools, and accidental impacts. Instead of worrying about cleaning the appliance after every phase of the project, you can focus on completing the renovation, knowing it is safely stored elsewhere.
Many homeowners throughout Shelby Township appreciate having extra room while modernizing older homes or finishing basement projects. Likewise, residents of Ludington often use self-storage during seasonal home improvements or before opening additional living space for visiting family and friends. Once your project is complete, you can enjoy everything these communities have to offer, from exploring the beautiful shoreline and trails at Ludington State Park to discovering local parks, golf courses, and community events throughout Shelby Township. These resources highlight many of the outdoor activities that make both communities wonderful places to live while reminding homeowners why protecting their belongings during home projects is worth the effort.
Small Steps Today Can Prevent Expensive Repairs Tomorrow
A washing machine is one of the hardest-working appliances in any home, so it deserves a little extra attention before spending time in storage. Although preparing it properly requires a bit more effort than simply unplugging it, those extra steps significantly reduce the risk of mold, corrosion, damaged suspension components, and mechanical issues. Cleaning the interior, draining every hose, allowing the appliance to dry completely, securing loose parts, transporting it upright, and organizing your storage unit thoughtfully all contribute to keeping the washer in excellent condition. Individually, these tasks only take a few minutes, but together they help preserve the appliance for months of storage. More importantly, following these best practices allows you to reinstall your washer with confidence once your remodeling project or move is complete, giving you one less thing to worry about during an already busy transition.
Storing a washing machine successfully begins long before it reaches the storage unit. By thoroughly cleaning the appliance, removing every trace of standing water, securing internal components, protecting the exterior, and maintaining proper airflow throughout storage, you can help ensure that it performs just as well when you reconnect it as it did before your project began. Just as important, taking time to organize your storage unit makes the entire experience far more convenient. With heavy appliances positioned carefully and frequently used belongings remaining accessible, you'll spend less time rearranging boxes and more time focusing on your move or renovation. Homeowners searching for storage options in Shelby Township, MI, or Ludington, MI, can keep appliances, furniture, and household belongings protected throughout every stage of a remodeling project or relocation. When your home is ready, your washing machine will be ready too, making the transition back to everyday life much smoother.